Logseq allows you to freely publish notes using custom domain or GitHub pages. Using the below steps, you can accomplish that.
- Terminology
- Publishing notes - Roam vs. Obsidian vs. Logseq
- Steps to publishing notes using Logseq
- Conclusion
Terminology
Before going ahead, let’s clear up some terminology.
- PKM: Personal knowledge management, collecting information.
- Backlink: Link to the referred resource/note. Mostly you will refer to another note by surrounding them
with double square brackets (
[[test]]to linktestnote) - Bidirectional linking: if Note
Arefers to NoteB, then NoteBhasBacklinkto NoteA. (A <=> B) - Graph: Shows all the connections between notes. Some apps like Roam Research & Logseq refer to
graphas a database (collection of your notes), whereas Obsidian refers tovaultas a database.
Publishing notes - Roam vs. Obsidian vs. Logseq
Roam Research, Obsidian and Logseq provide bidirectional linking between notes and graph views of them.
To use Roam Research, you need to pay monthly/yearly (15$/month at this time of writing), and it allows you to create up to 3 graphs that you can store in their cloud. You can make a graph public to publish your notes. There are other services like Roam Garden which provide a more excellent UI to your notes; this is paid service (7.5$/month).
Obsidian allows you to use any folder to store your notes. All your notes are stored locally, and you can sync with any service like Syncthing, Resilio Sync, Google Drive, Dropbox, Github. Obsidian also released an Obsidian Sync feature (8$/month), where all the notes are encrypted locally with your password and sent to their servers (more secure than Roam Research). They provide an Obsidian Publish service for publishing notes, which costs 16$/month.
With Logseq, you can choose any local folder (can be synced to the cloud) to store notes; for publishing notes, they provide an option to export Graph to HTML pages, and you can deploy this to your server or domain or GitHub pages or IPFS.
Steps to publishing notes using Logseq
Note that you can import notes from Roam Research as JSON and import them to Logseq.
Set homepage
After selecting the folder to store your graph/database, select ... and choose Settings in the right upper corner.
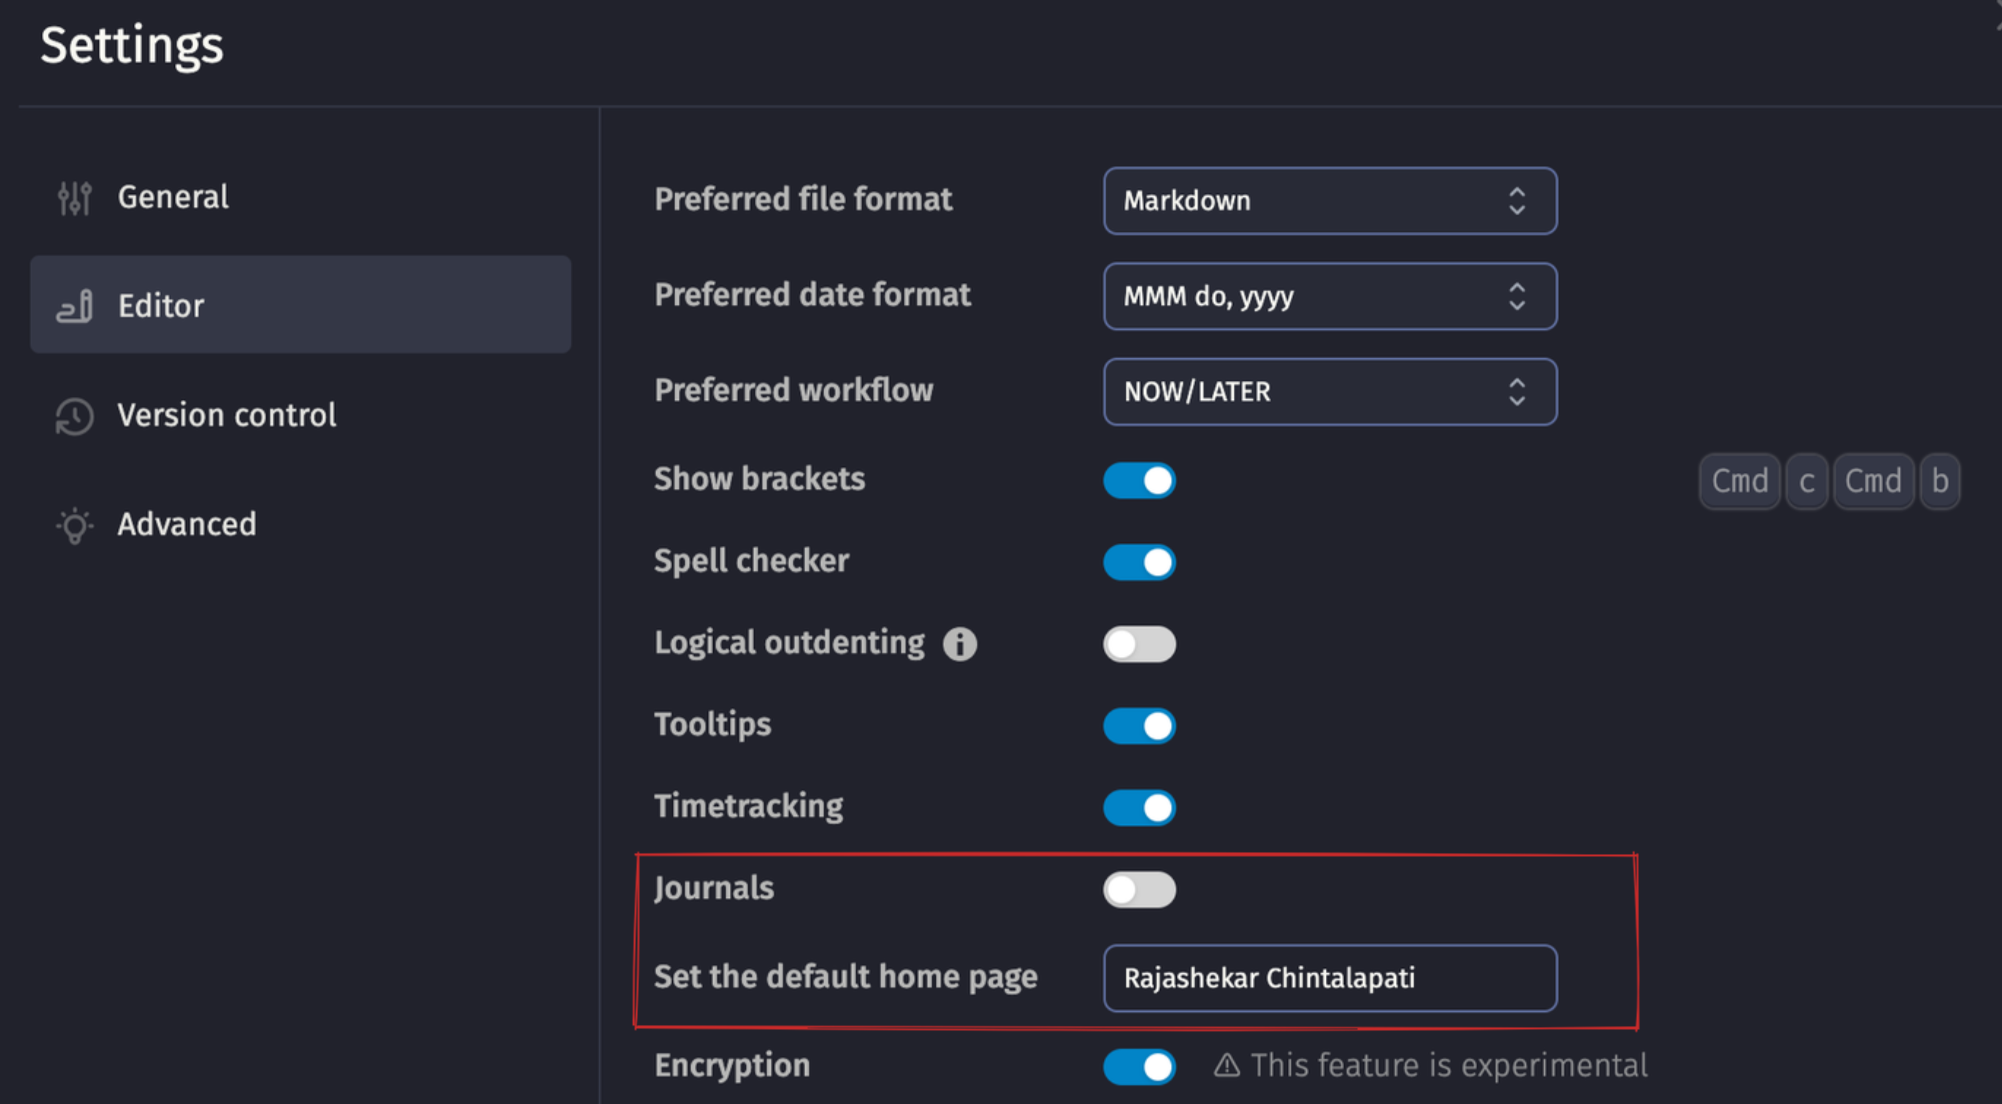
Select the Editor tab and disable “Journals”, once done the “Set the default home page” option will be enabled; set this to any name you would like to name your home page. Create a new note/page with the same name.
You can also make this change directly in config.edn file, go to Settings => General tab => select Edit config.edn,
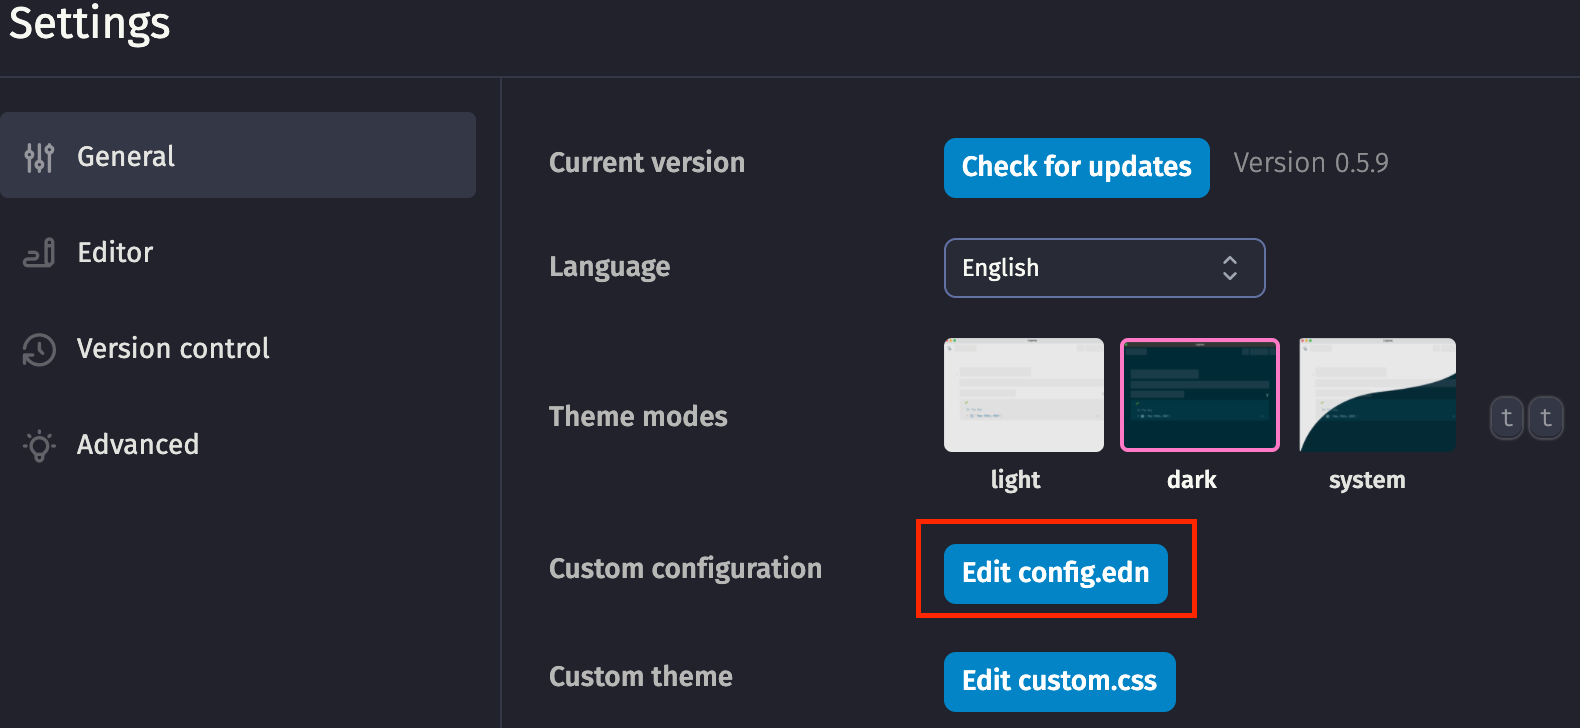
will open config.edn, search for default-home and set default home page like below
:default-home {:page "Home"}
Note: You can get config.edn by using search, keyboard shortcut is Cmd+k or Ctrl+k depending on macOS or
windows.
Set pages public
You have two options,
- Publish all notes. For this, go to
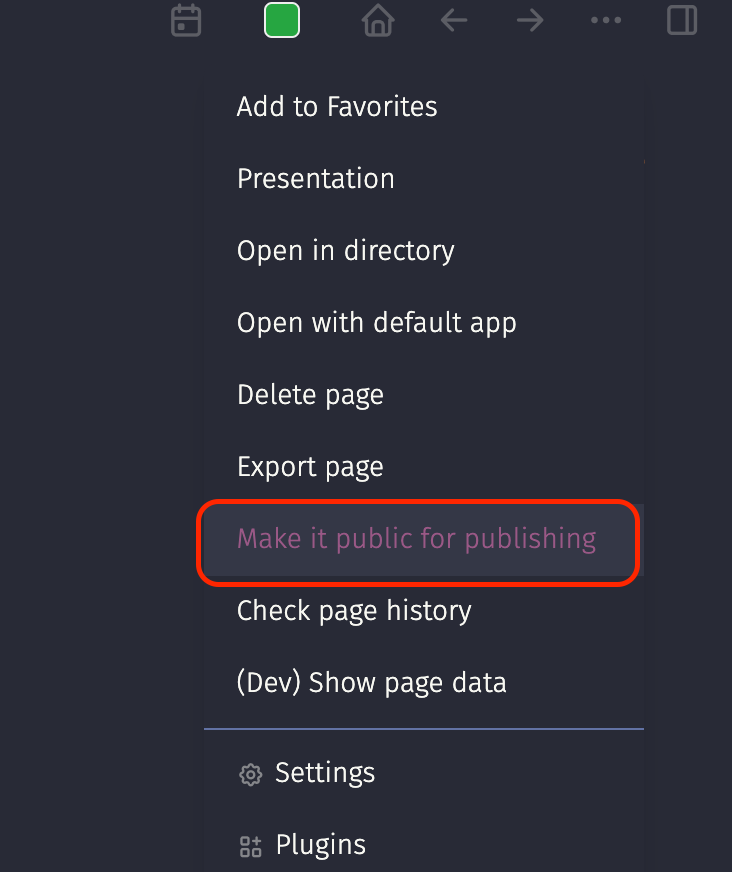
Settings, selectEditor, and enableAll pages public when publishing. - Select what notes you want to publish by selecting
Make it public for publishing
Set custom theme
To change the default theme, go to Settings => General tab => “Edit custom.css”, here you can add your custom CSS. There are many themes available; refer to this, pick any theme you like, copy the theme custom.css content, and paste in your logseq custom.css.
Export graph/notes
After having your notes, it’s time to export. Settings => select “Export Graph”, select “Export public pages”, select any folder where you want to store the generated static files from your notes. You can open the index.html in this folder to preview.
Deploying notes
You can deploy the folder containing the generated static files from above to Github pages, Vercel or Netlify. You can also deploy this folder to decentralized network using IPFS, refer this post. Here is a sample graph I deployed, https://logseq.rajashekar.org.
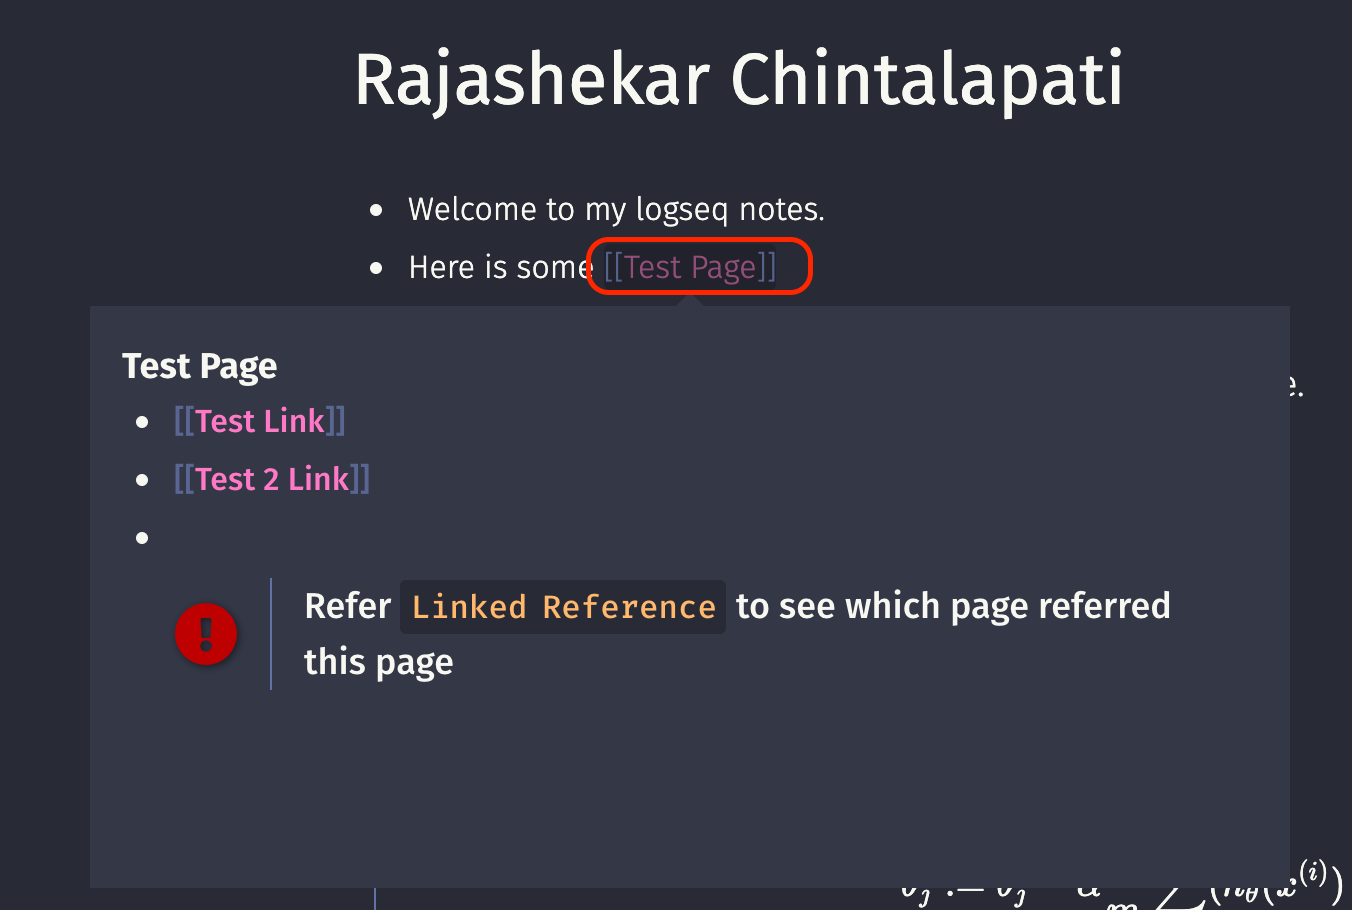
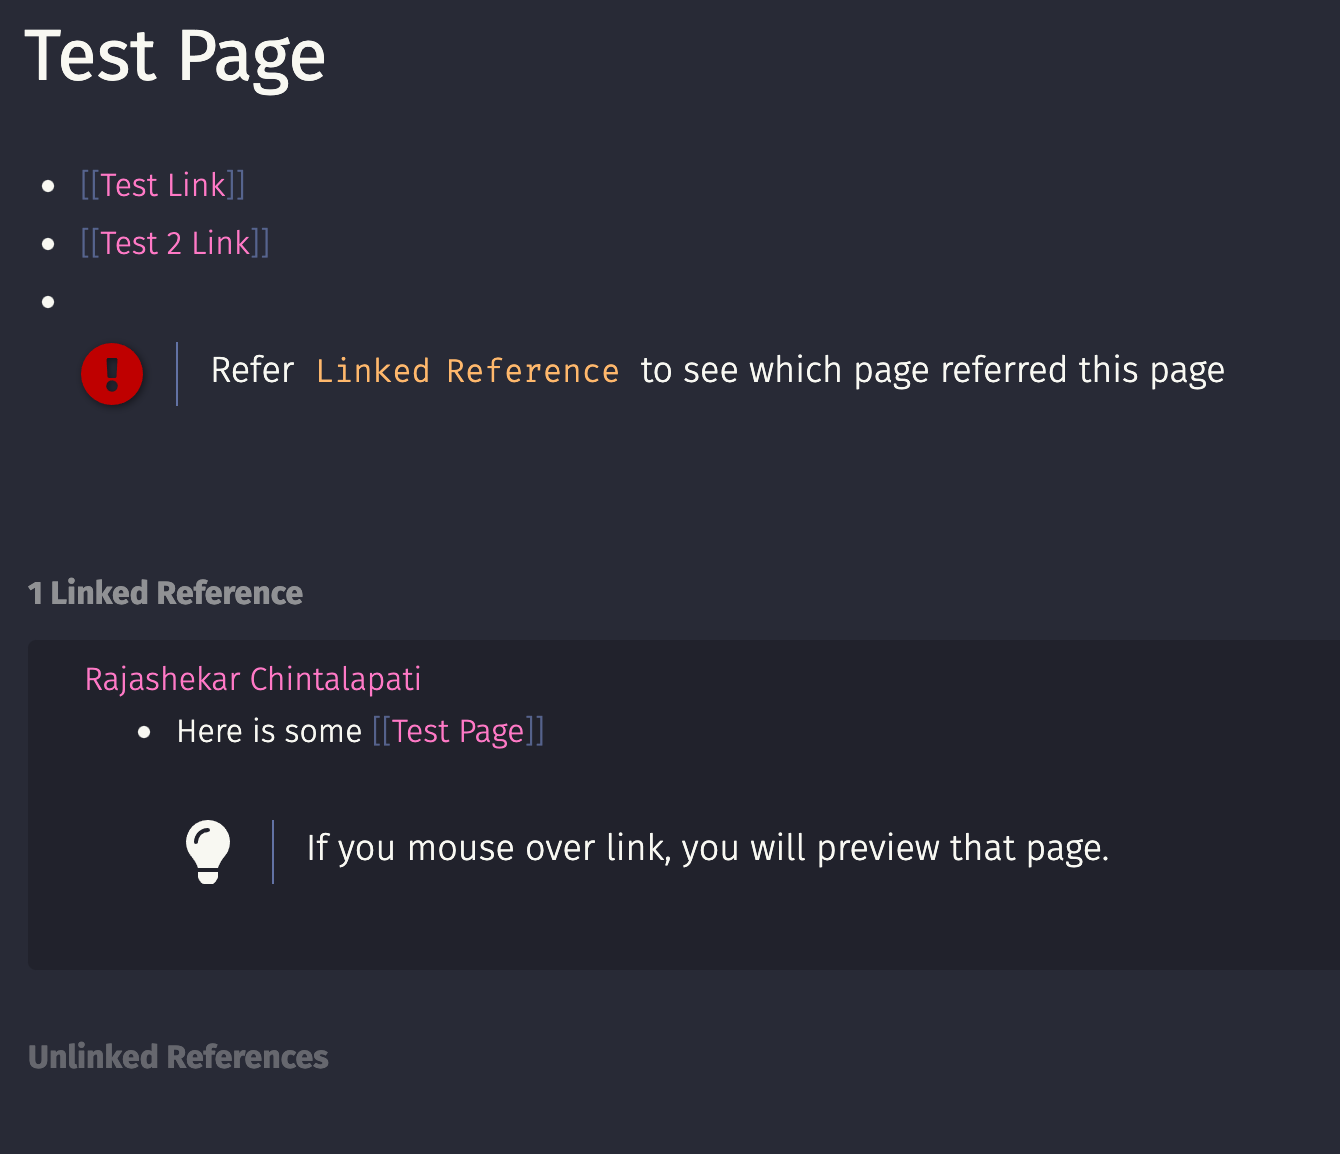
Previewing linked notes
Hovering over links, shows preview of the note.
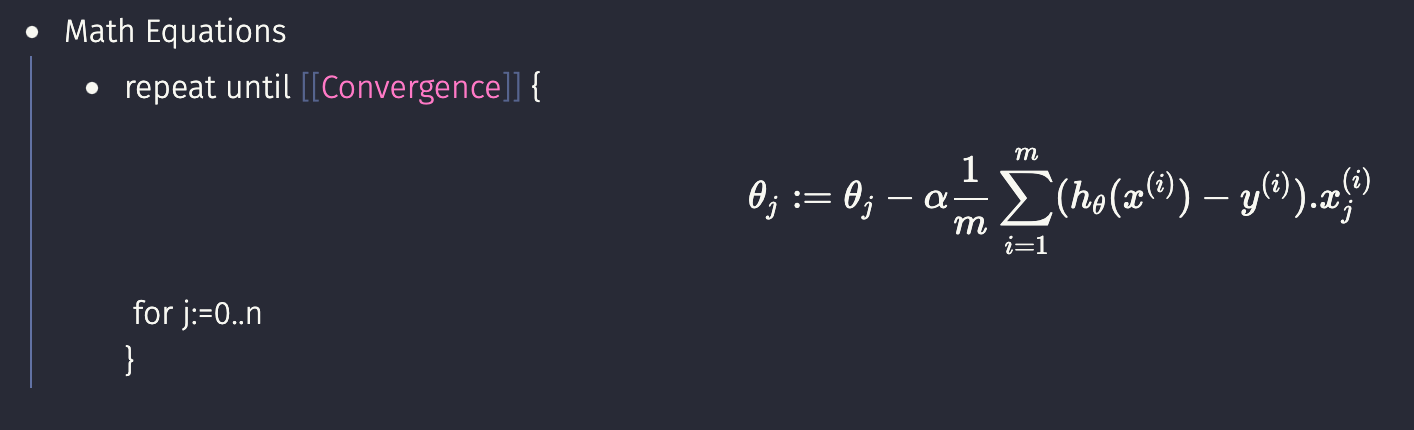
Math equations
Below is how math equations will be shown.
Drawings
Excalidraw drawings are not displayed, but you can copy the diagrams as png and include them.
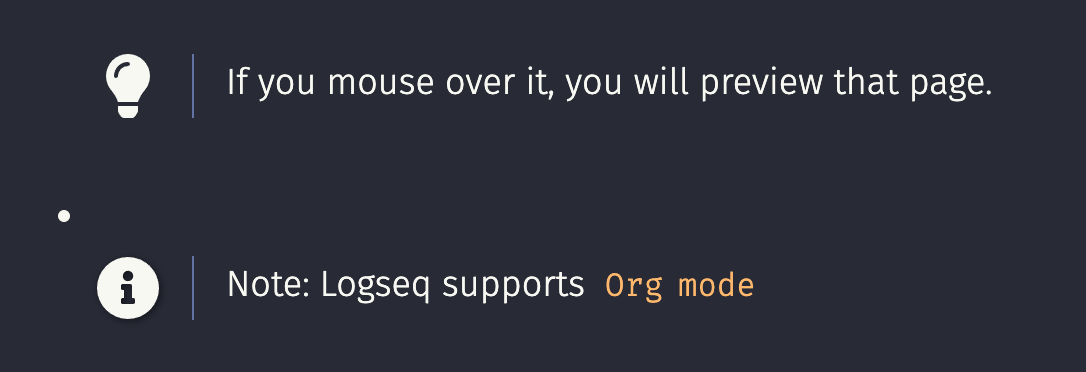
Org Mode
Logseq supports Org Mode and has some nice font icons - you can refer to this cheatsheet
Viewing graph
Clicking on the Graph view will show links between notes. Here is preview of the graph I deployed.
Backlinks
Below is how backlinks are shown.
Searching notes
Pressing Ctrl+k (for Windows) Cmd+k (for macOS) will pop up the search bar, and you can search all your notes.
Presenting slides
Last but not least, you can present a page/note as a slide. Click on “Presentation” in page settings, and press f to
present in full screen. Below is the demo.
Here is page used to demo. You can try it yourself.
Conclusion
I hope the above gave an idea of how to publish your notes and get all the excellent features of Logseq at no cost.
– RC


Comments